In the middle of your kitchen, renovation work is pending. Does the kitchen sink need to be replaced, or does the kitchen mixer tap take priority? At hansgrohe you will find suitable kitchen products for all your specific requirements and installation scenarios. Read our recommendations here as to what selection options you have, and what you need to keep in mind when installing the kitchen sink and mixer tap.
You most certainly have individual requirements when it comes to deciding how your sink is to be integrated into the kitchen. To ensure that the sink unit is fully compatible with the style of the kitchen and with your convenience-related requirements, at hansgrohe you have the choice between three different installation variants, each of which has its own advantages.

The sink is inserted into a matching cut-out from above and glued in place. Surface-mounted installation is suitable for all worktop materials and is especially recommended in the case of wood or laminate. So no water can access the open cut edge of the worktop.

This requires an absolutely precise cut-out in the panel, which merges seamlessly with the sink. Advantages: the seamless surface increases the working area steplessly and is easy to clean. Flush-mounted installation is suitable for solid materials like natural stone or quartz. In this kind of homogeneous material, a very small recess can easily be milled, on which the rim of the sink is specifically supported, in order to be flush with the worktop.

The sink is mounted below the cut-out and is therefore almost invisible. This makes the kitchen look more spacious and it is easier to keep the worktop clean. Simply wipe any residual liquid or dirt into the sink. Undermount installation is suitable for water-resistant worktops, which require an extra borehole for the kitchen tap. Or choose a wall-mounted tap for the sink.
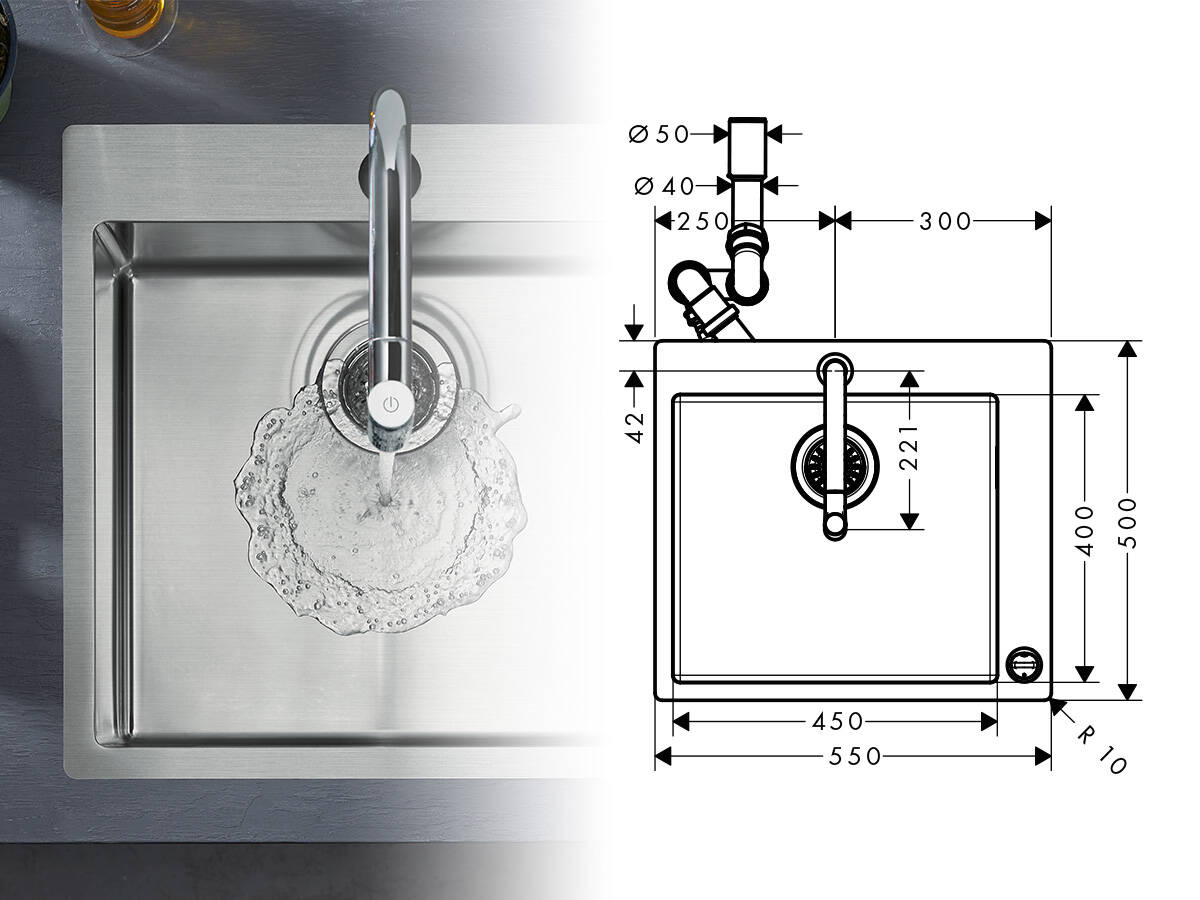
hansgrohe makes renovation work easier for you with an “all-inclusive” product. In addition to the sink and tap, you can the waste set, connection hoses, brackets and optional drain cover and sBox.
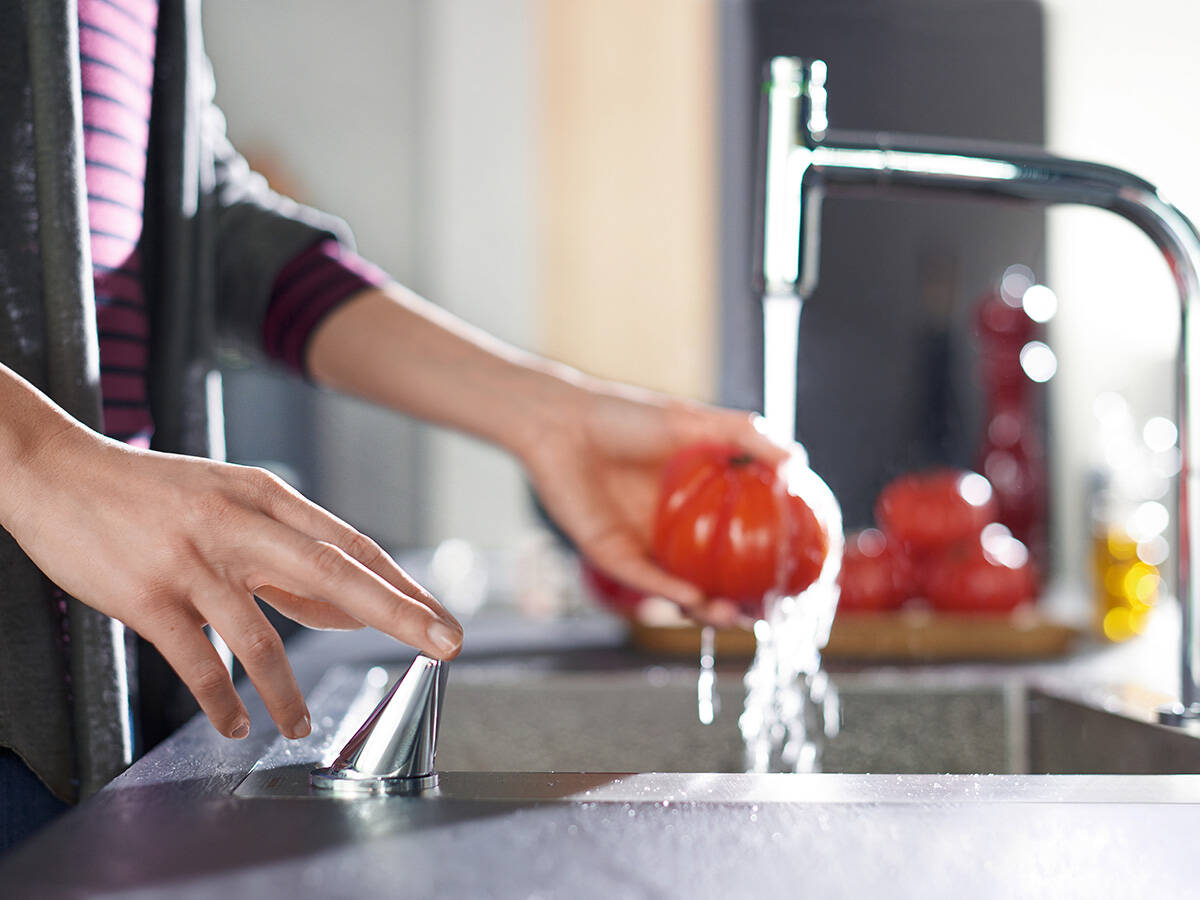
The kitchen tap is probably the most frequently used tool in the home. Accordingly, safe installation and optimum ease of use are paramount here. Out of the hansgrohe kitchen assistants, select the configuration that works best for you. One that will make your kitchen chores easier.


In some kitchens, the place for the sink is planned directly in front of the window. What if you want to open it for cleaning or ventilation? In that case, you need a special kitchen tap. Particularly if the sink unit is designed at a height which satisfies ergonomic requirements, but leaves very little margin up to the parapet height of the window. Lots of hansgrohe kitchen taps are ideal for installation in front of a window. The tap is simply tilted in order to open the window. Its body can be lifted straight up out of its fixture and placed to one side. This is even possible using only one hand. The flexible, long connection hoses offer convenient leeway for this.